

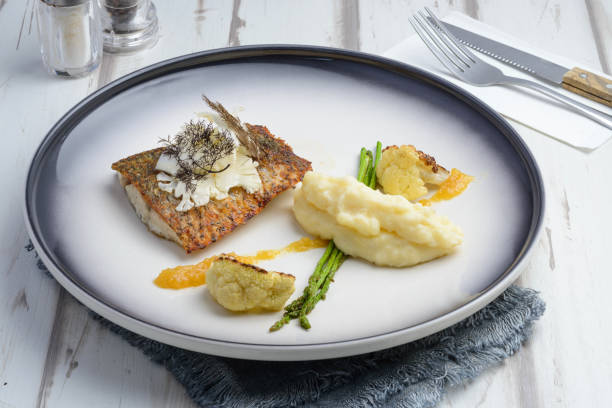
At its core, searing is about applying high, direct heat to the surface of a protein—in this case, steak—for a short amount of time. The goal is not to cook the steak through. The goal is to create a deeply browned, flavor-packed crust while keeping the interior tender and juicy. The science behind it is called the Maillard reaction, which is a fancy way of saying that heat causes amino acids and sugars in the meat to react and form hundreds of new, savory flavor compounds. That brown crust is pure flavor gold. So when a recipe says “sear the steak,” it is telling you to ignore the internal temperature for a moment and focus entirely on the surface.
Now, what does that look like in practice? First, you need a very hot pan. A cast-iron skillet is ideal because it holds heat evenly and stays hot even when you add the steak. Let the pan sit over medium-high heat for at least three to four minutes before adding any oil. You want to see the oil shimmering and starting to smoke slightly. That is your cue. While the pan heats, pat your steak completely dry with paper towels. Moisture is the enemy of a good sear because it creates steam, which prevents browning. Season the steak generously with salt—and only salt. Pepper can burn at high heat, so save it for after the sear.
Once the pan is hot and the steak is dry, lay it in the pan away from you to avoid oil splatter. Then, do not touch it. This is where many home cooks get nervous and start flipping or pressing the steak. Resist. Let it sit undisturbed for three to four minutes, depending on thickness. When the steak releases easily from the pan, you know the crust has formed. If it sticks, it is not ready. Flip it once and sear the second side for another three to four minutes. For a perfect crust, you do not need to move the steak around. One flip is all it takes.
After the sear, you will lower the heat to finish cooking the steak to your desired doneness, or you can transfer it to a preheated oven if the steak is very thick. But here is the part that often gets glossed over in recipes: resting. After the steak comes out of the pan, let it rest for at least five minutes, tented loosely with foil. This allows the juices to redistribute evenly throughout the steak. If you cut into it too soon, all that flavorful juice will run out onto the cutting board, leaving your steak dry. Resting is not a separate step. It is part of the searing technique.
One more piece of jargon you might see is “basting,” which is sometimes done after the initial sear. If your recipe calls for basting, that means adding butter, garlic, and herbs to the pan after the crust is formed, tilting the pan slightly, and spooning the hot butter over the steak. This adds richness and aroma, but it is optional. For a simple, weeknight steak, a clean sear with just oil and salt is more than enough to impress.
The takeaway here is that mastering the perfect sear is not about having special equipment or following a complicated list of steps. It is about understanding two things: heat and patience. Give the pan time to get hot. Give the steak time to form a crust. Give the cooked steak time to rest. That is the real technique behind the jargon. And once you master it, you will never look at a recipe that says “sear until golden brown” with the same confusion again. You will simply nod, heat your pan, and get to work.